Customizing BRZ Navigation Start Up Screen
GrimmSpeed DIY Guide Series
Customizing BRZ Start Up Screen
Updated 6/3/12
Introduction: This guide will step through how you can setup your BRZ navigation screen to display a custom image upon startup.
Tools: The tools listed below are suggested for this task. Optional tools are noted.
- Computer
- Image editing software
- SD card and card reader
Tips: If you’re having trouble with image sizing, try downloading the sample that I’ve uploaded and use it as a template.
Procedure:
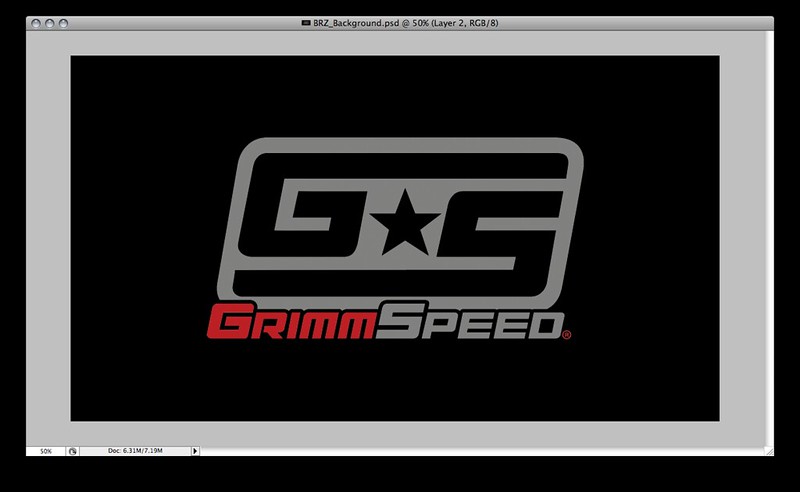
1. Begin by deciding what you want your Start Up Screen to look like. I’ll be using the basic GrimmSpeed logo, but you could use anything. Find this image and save it somewhere where you’ll find it.
2. Now, open your image editing software and create a hi-resdocument that has a 16:9 aspect ratio. This will be hi-resolution and the correct aspect ratio for the navigation screen.
3. Edit this image to your liking, adding logos, pictures, etc. Save it as a .JPG in a place where you’ll find it.
4. Now, save this image to your SD card. Note that you shouldn’t modify the OEM SD card used for maps, so you’ll need your own card. You don’t need much space, so if you need to buy a card, it shouldn’t cost an arm and a leg.
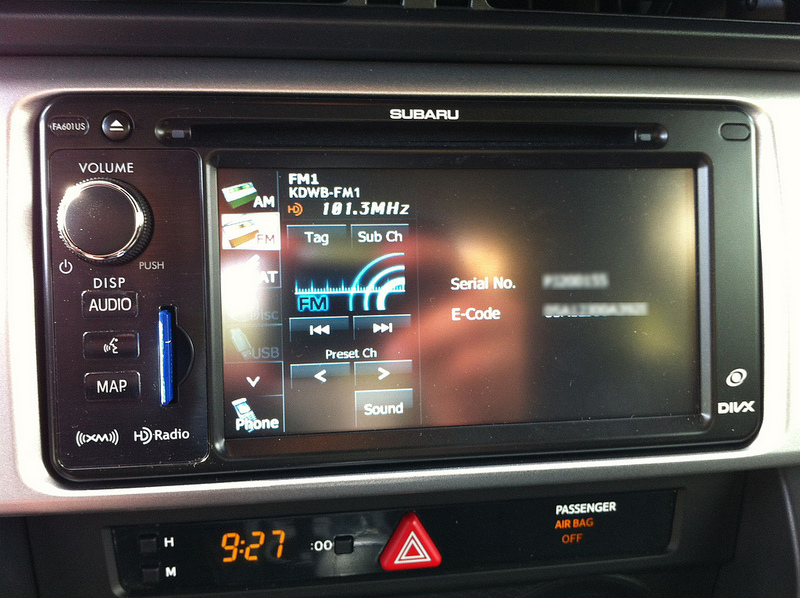
5. Now that you’ve got your custom Start Up Screen saved to the SD card, get into your car and turn the key to the ON position. Remove the OEM SD card and set it aside. Insert your own SD card and wait for the prompt.
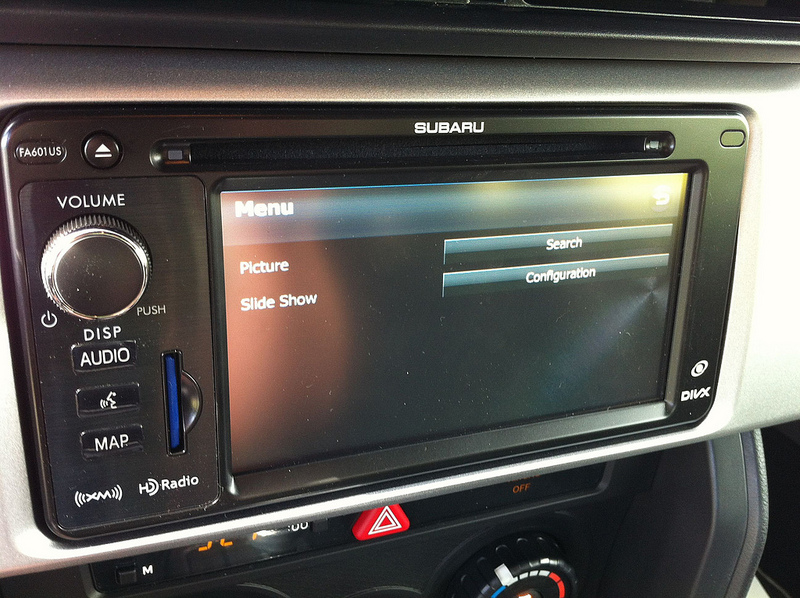
6. The system will begin browsing your card. You can hit the menu button to use the menu on the right hand side to navigate to the directory where you’ve saved your background. I didn’t bury mine in any folders (Root Folder), so it popped right up after I hit ‘Search’. I suspect that the other file with a smaller file size is a thumbnail or something. I selected the larger of the two.
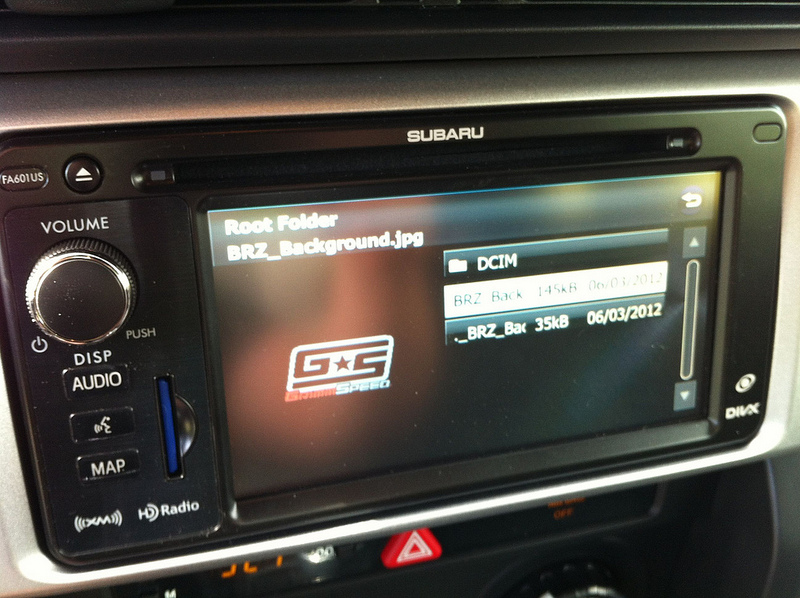
7. Select your file and then touch the image preview on the left to make the image full screen.

8. If you’re happy with the result and your image is displaying correctly, touch the screen again to bring up the menu.
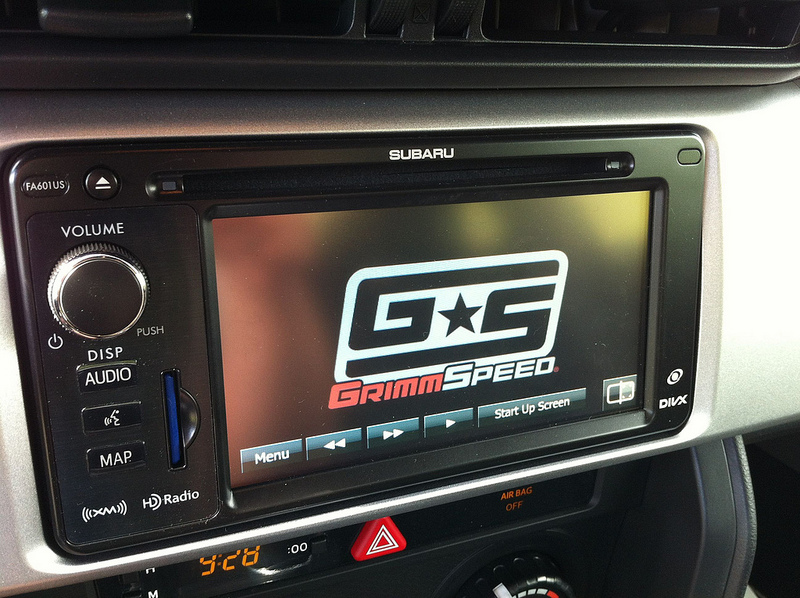
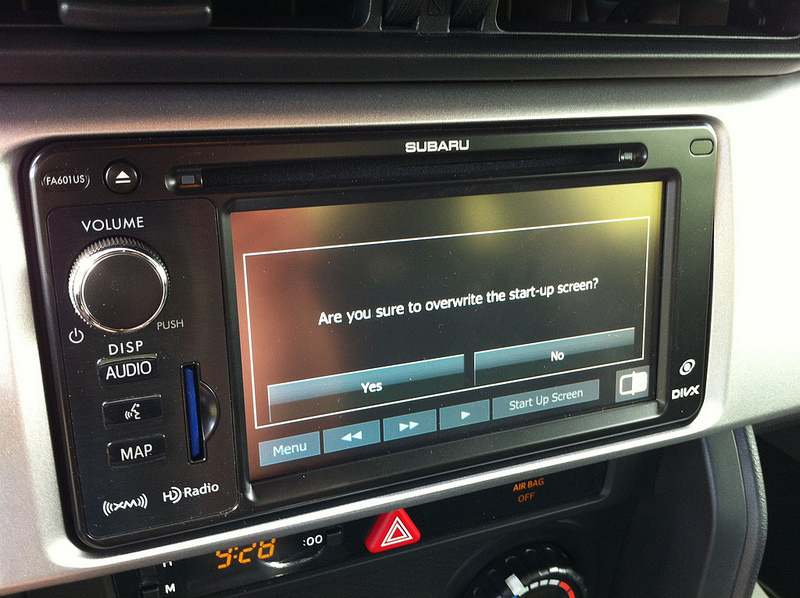
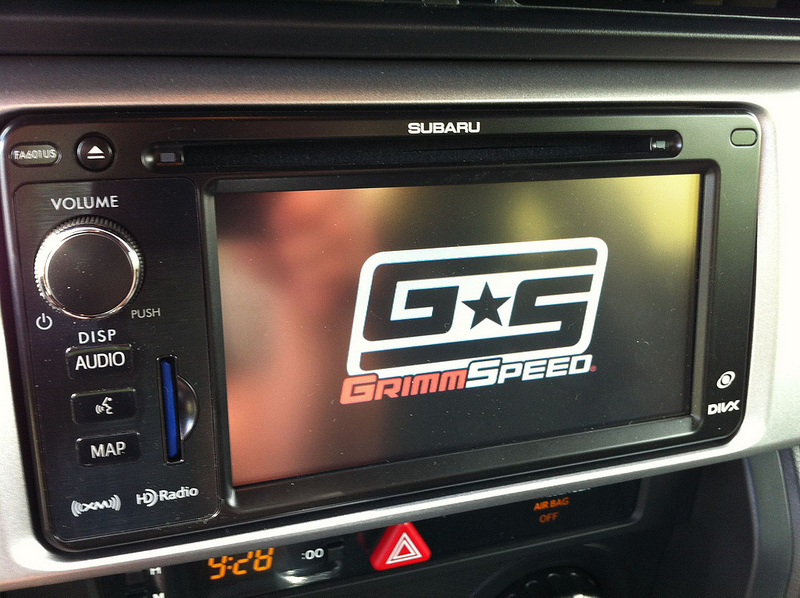
9. Simply touch the ‘Start Up Screen’ button and confirm that you want to overwrite the Start Up Screen. Leave the key in the ON position while the image loads and then you should be all set! Turn the key to the OFF position, swap the OEM SD card back into the system and then turn the key back to the ON position. Your new custom Start Up Screen should display!
All set! Please don’t hesitate to ask for help. We’re always happy to do what we can! Also, if you have additions or corrections, let us know and we'll update the write up; we're all in this together!
- Matt
Customizing BRZ Start Up Screen
Updated 6/3/12
Introduction: This guide will step through how you can setup your BRZ navigation screen to display a custom image upon startup.
Tools: The tools listed below are suggested for this task. Optional tools are noted.
- Computer
- Image editing software
- SD card and card reader
Tips: If you’re having trouble with image sizing, try downloading the sample that I’ve uploaded and use it as a template.
Procedure:
1. Begin by deciding what you want your Start Up Screen to look like. I’ll be using the basic GrimmSpeed logo, but you could use anything. Find this image and save it somewhere where you’ll find it.
2. Now, open your image editing software and create a hi-resdocument that has a 16:9 aspect ratio. This will be hi-resolution and the correct aspect ratio for the navigation screen.
3. Edit this image to your liking, adding logos, pictures, etc. Save it as a .JPG in a place where you’ll find it.
4. Now, save this image to your SD card. Note that you shouldn’t modify the OEM SD card used for maps, so you’ll need your own card. You don’t need much space, so if you need to buy a card, it shouldn’t cost an arm and a leg.
5. Now that you’ve got your custom Start Up Screen saved to the SD card, get into your car and turn the key to the ON position. Remove the OEM SD card and set it aside. Insert your own SD card and wait for the prompt.
6. The system will begin browsing your card. You can hit the menu button to use the menu on the right hand side to navigate to the directory where you’ve saved your background. I didn’t bury mine in any folders (Root Folder), so it popped right up after I hit ‘Search’. I suspect that the other file with a smaller file size is a thumbnail or something. I selected the larger of the two.
7. Select your file and then touch the image preview on the left to make the image full screen.
8. If you’re happy with the result and your image is displaying correctly, touch the screen again to bring up the menu.
9. Simply touch the ‘Start Up Screen’ button and confirm that you want to overwrite the Start Up Screen. Leave the key in the ON position while the image loads and then you should be all set! Turn the key to the OFF position, swap the OEM SD card back into the system and then turn the key back to the ON position. Your new custom Start Up Screen should display!
All set! Please don’t hesitate to ask for help. We’re always happy to do what we can! Also, if you have additions or corrections, let us know and we'll update the write up; we're all in this together!
- Matt
I truly like to reading your post. Thank you so much for taking the time to share such a nice information.
ReplyDeletebrz accessories